Lab 1 - Getting Started with SCloudStack Console
Introduction
In this lab, we will step by step access to the SCloudStack’s console as a Tenant Administrator and discover its services, features.
Prerequisite
- An account with Tenant Administrator role.
- Your tenant need to be in Active status.
Please contact your System Administrator to get your credential.
Guidelines
Access your console
Step 1: Open your browser and access the SCloudStack public IP or domain (will be provided by your System Administrator).
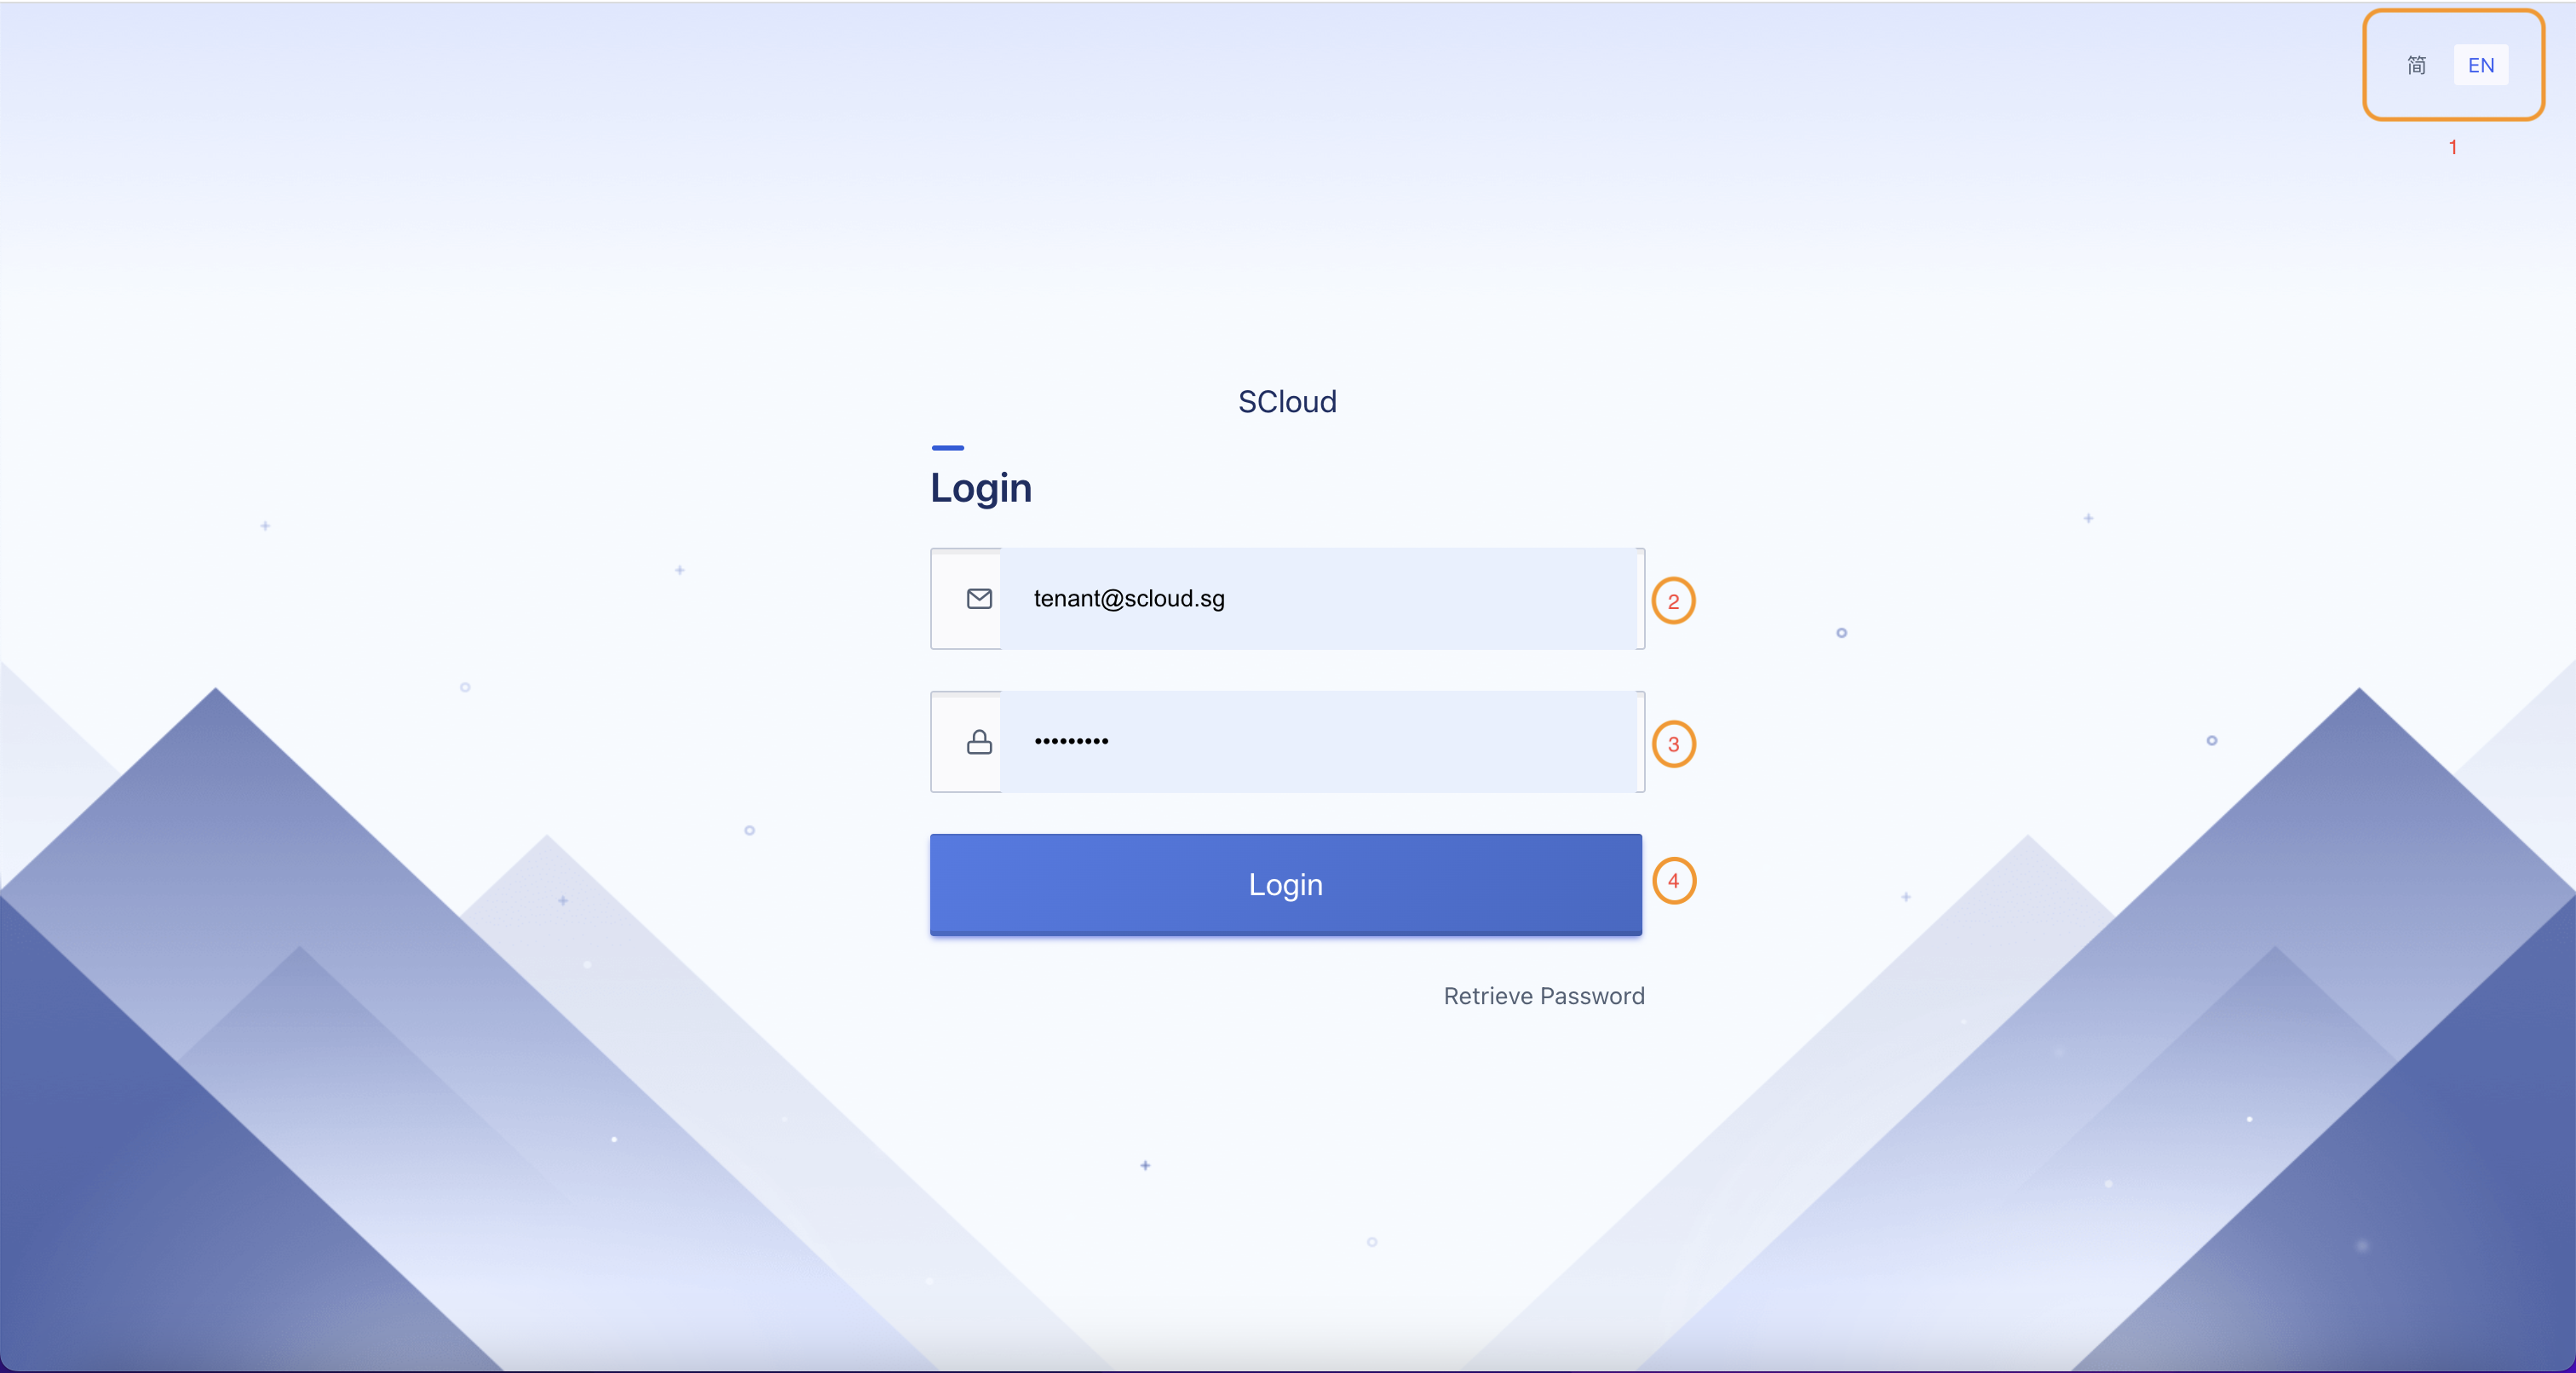
(1) You can toggle the desired language between English and Chinese.
(2) Enter your username here.
(3) Enter your password here.
(4) Click Login button to access the SCloudStack console.
Step 2: Observe the SCloudStack console dashboard:
After login successfully as Tenant Administrator, your dashboard will be like below:
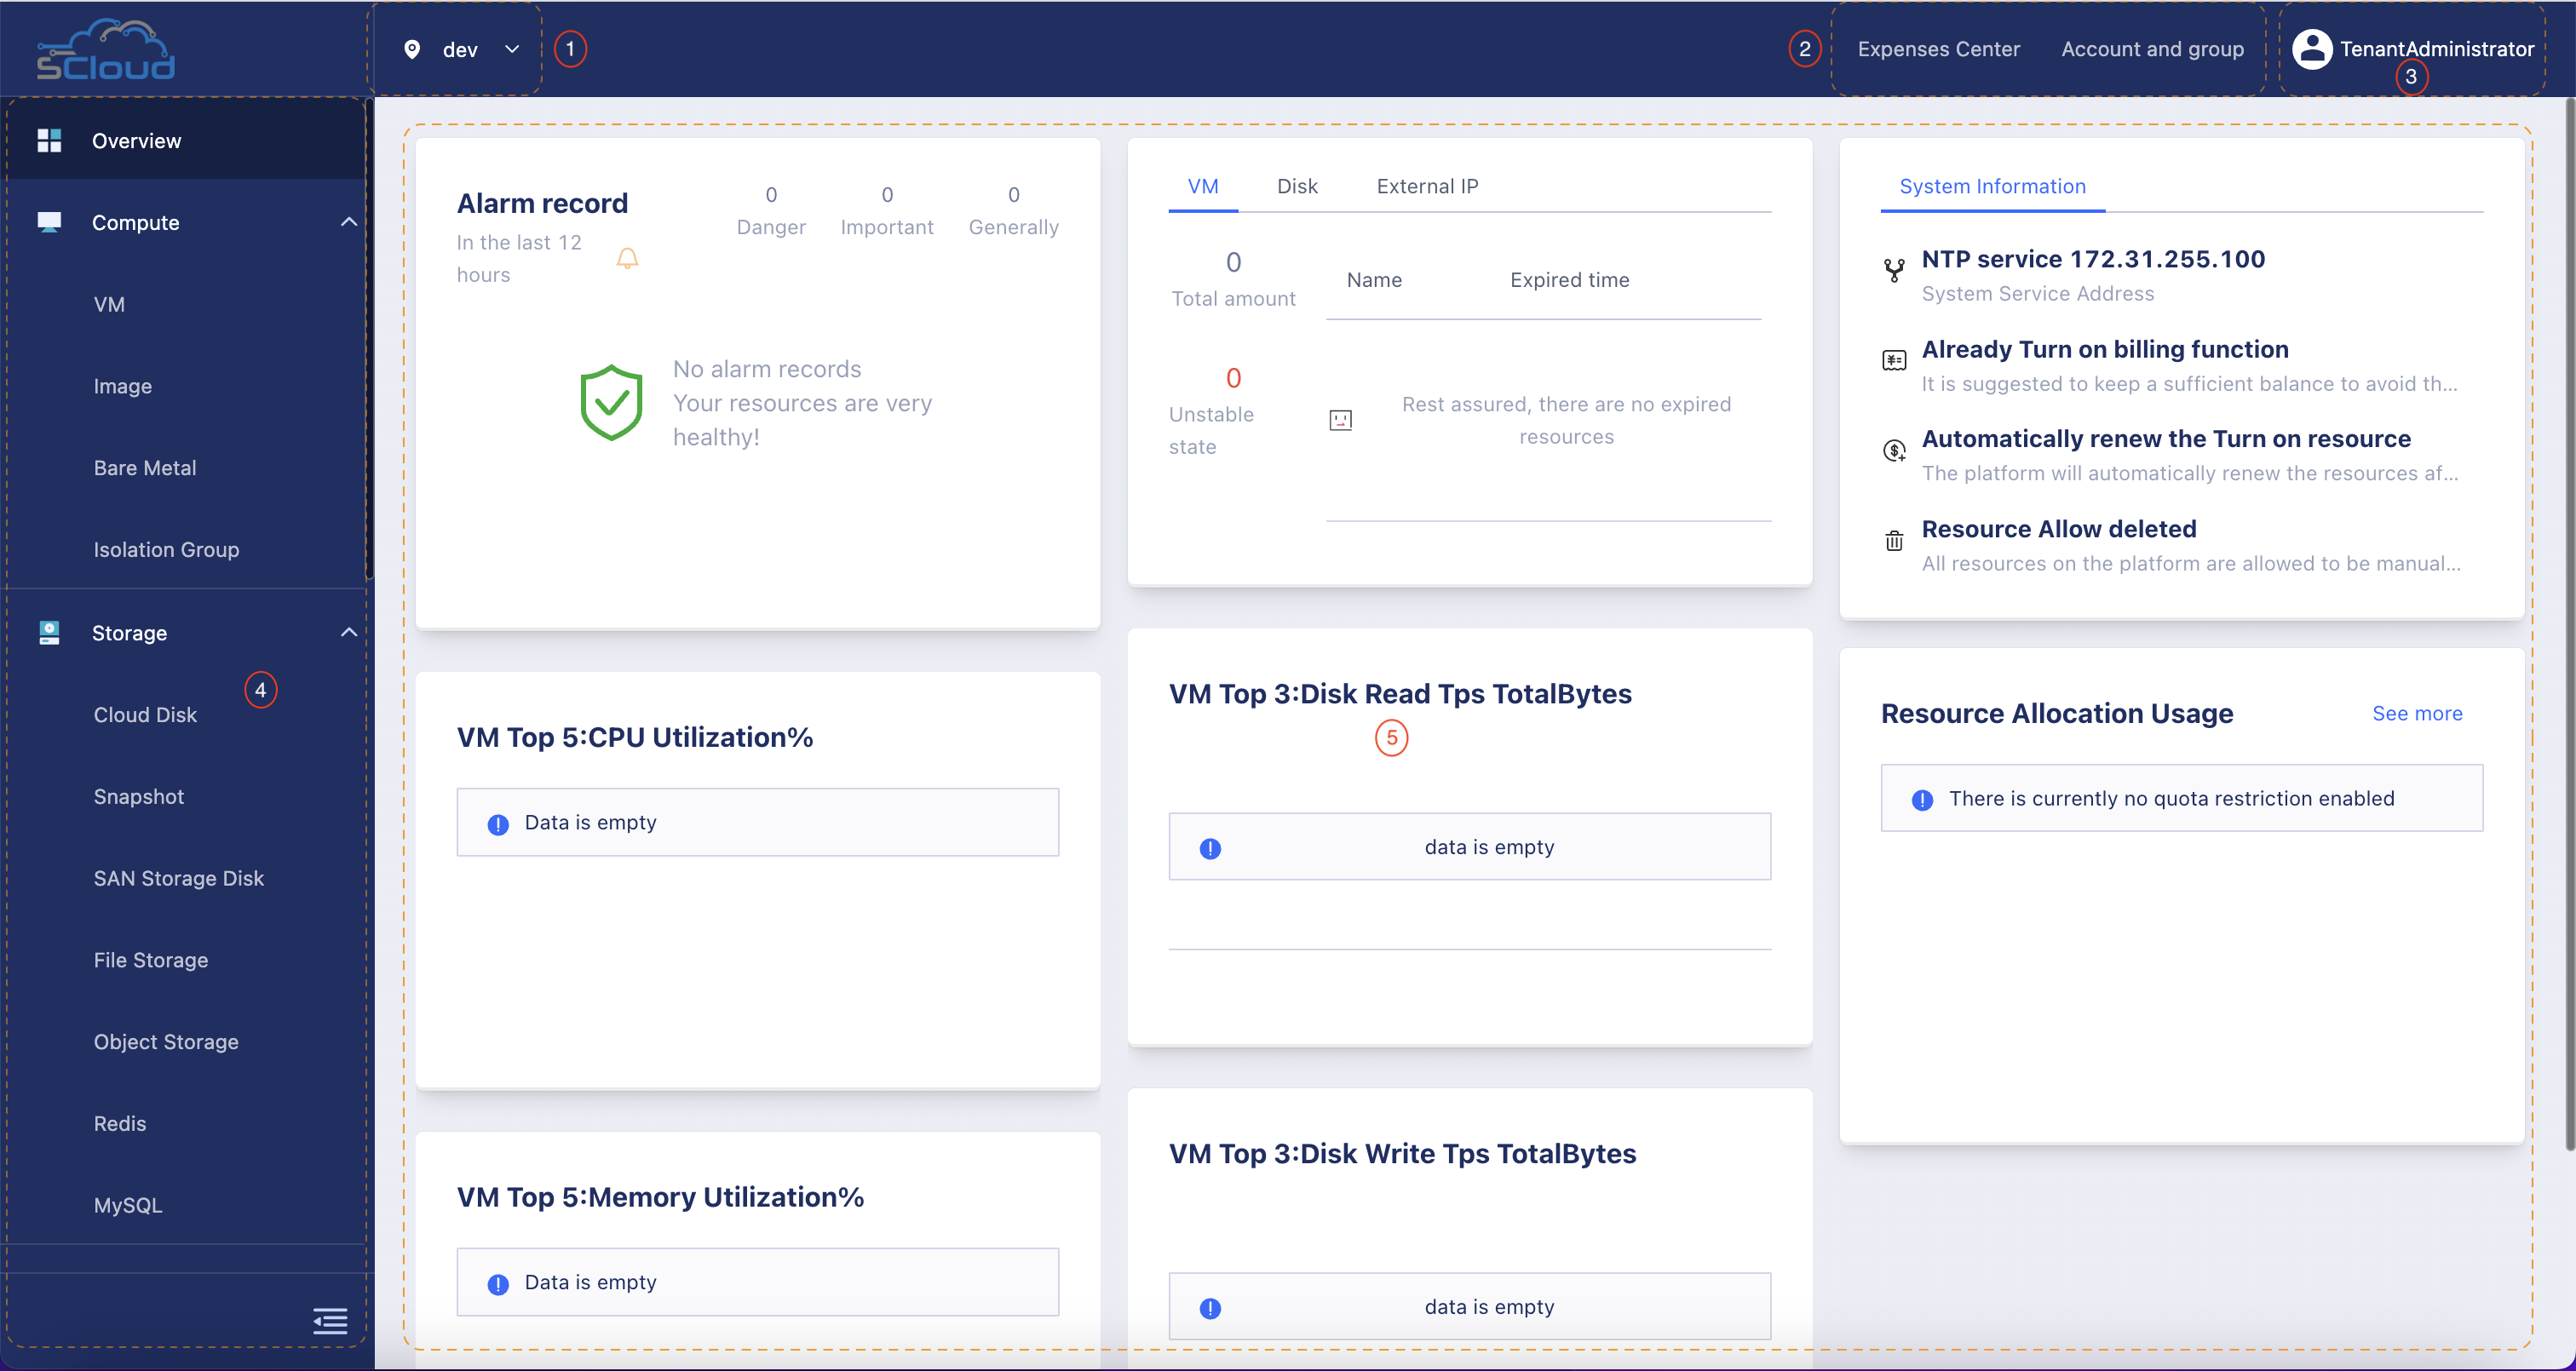
(1) Click here to toggle between different data centers.
(2) Navigate to Expenses Center (Order, Transaction, Bill) & Account and Group (You account, Quota, Sub-account, Project, Role). We will have other labs to cover these topic, for now just navigate to this page and see the UI.
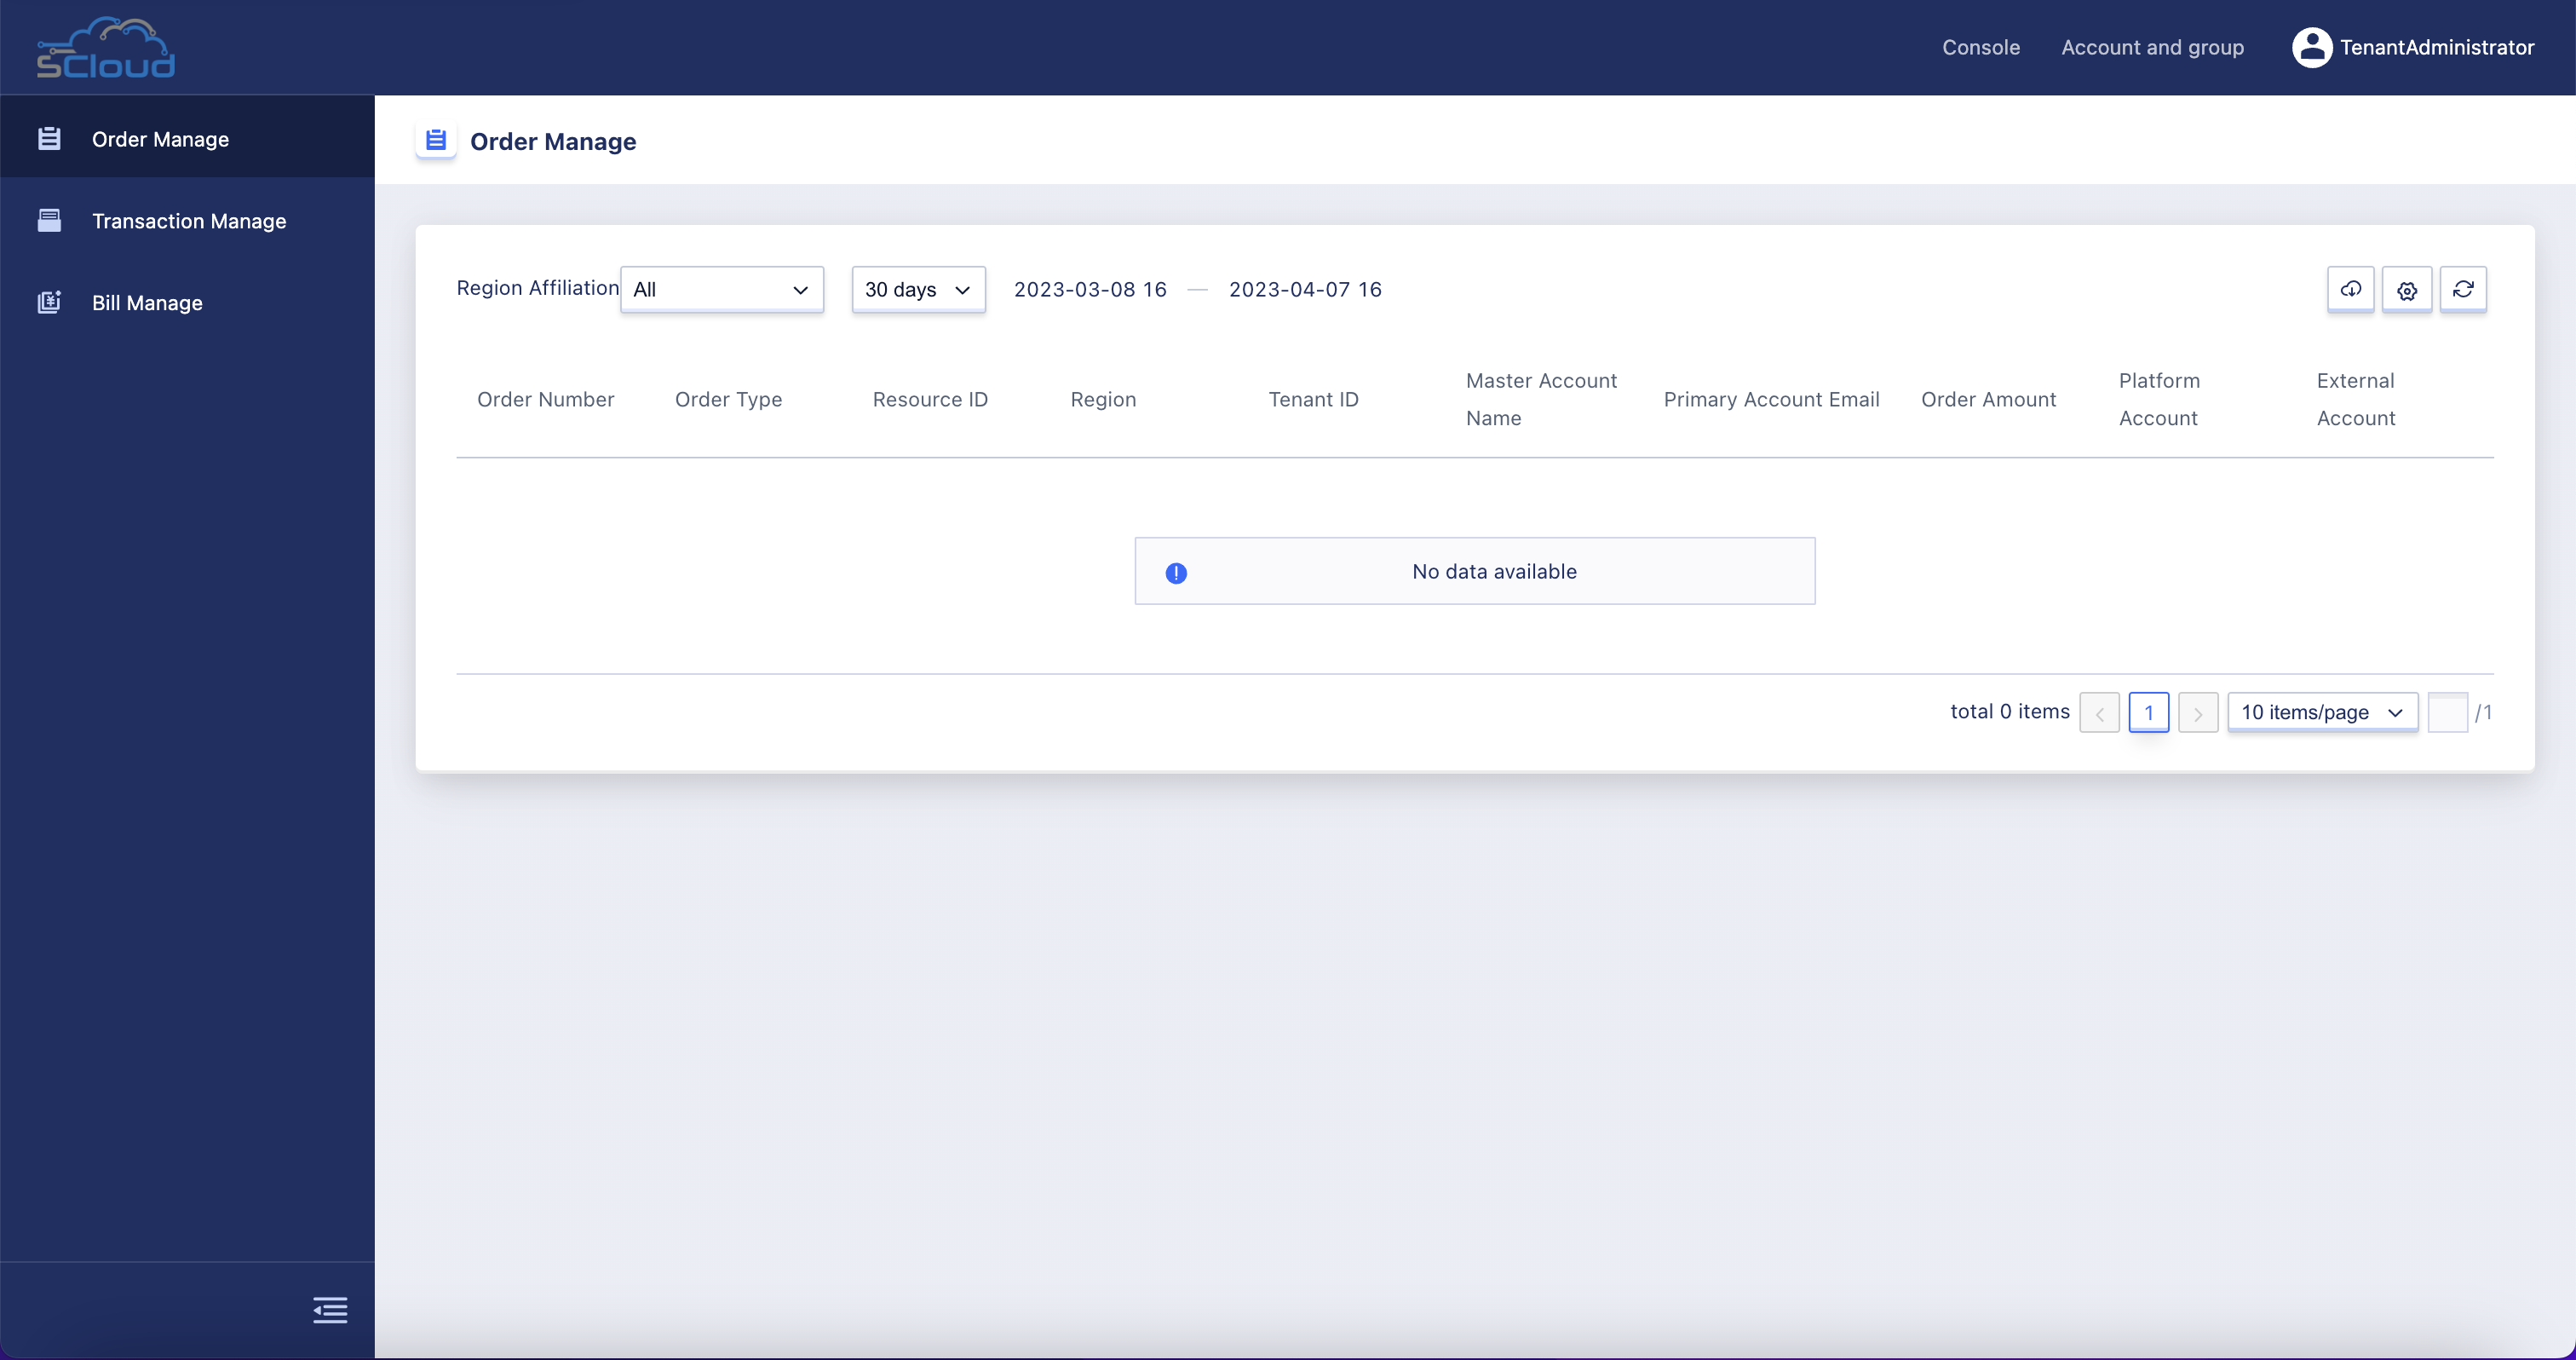
- Expenses Center UI:
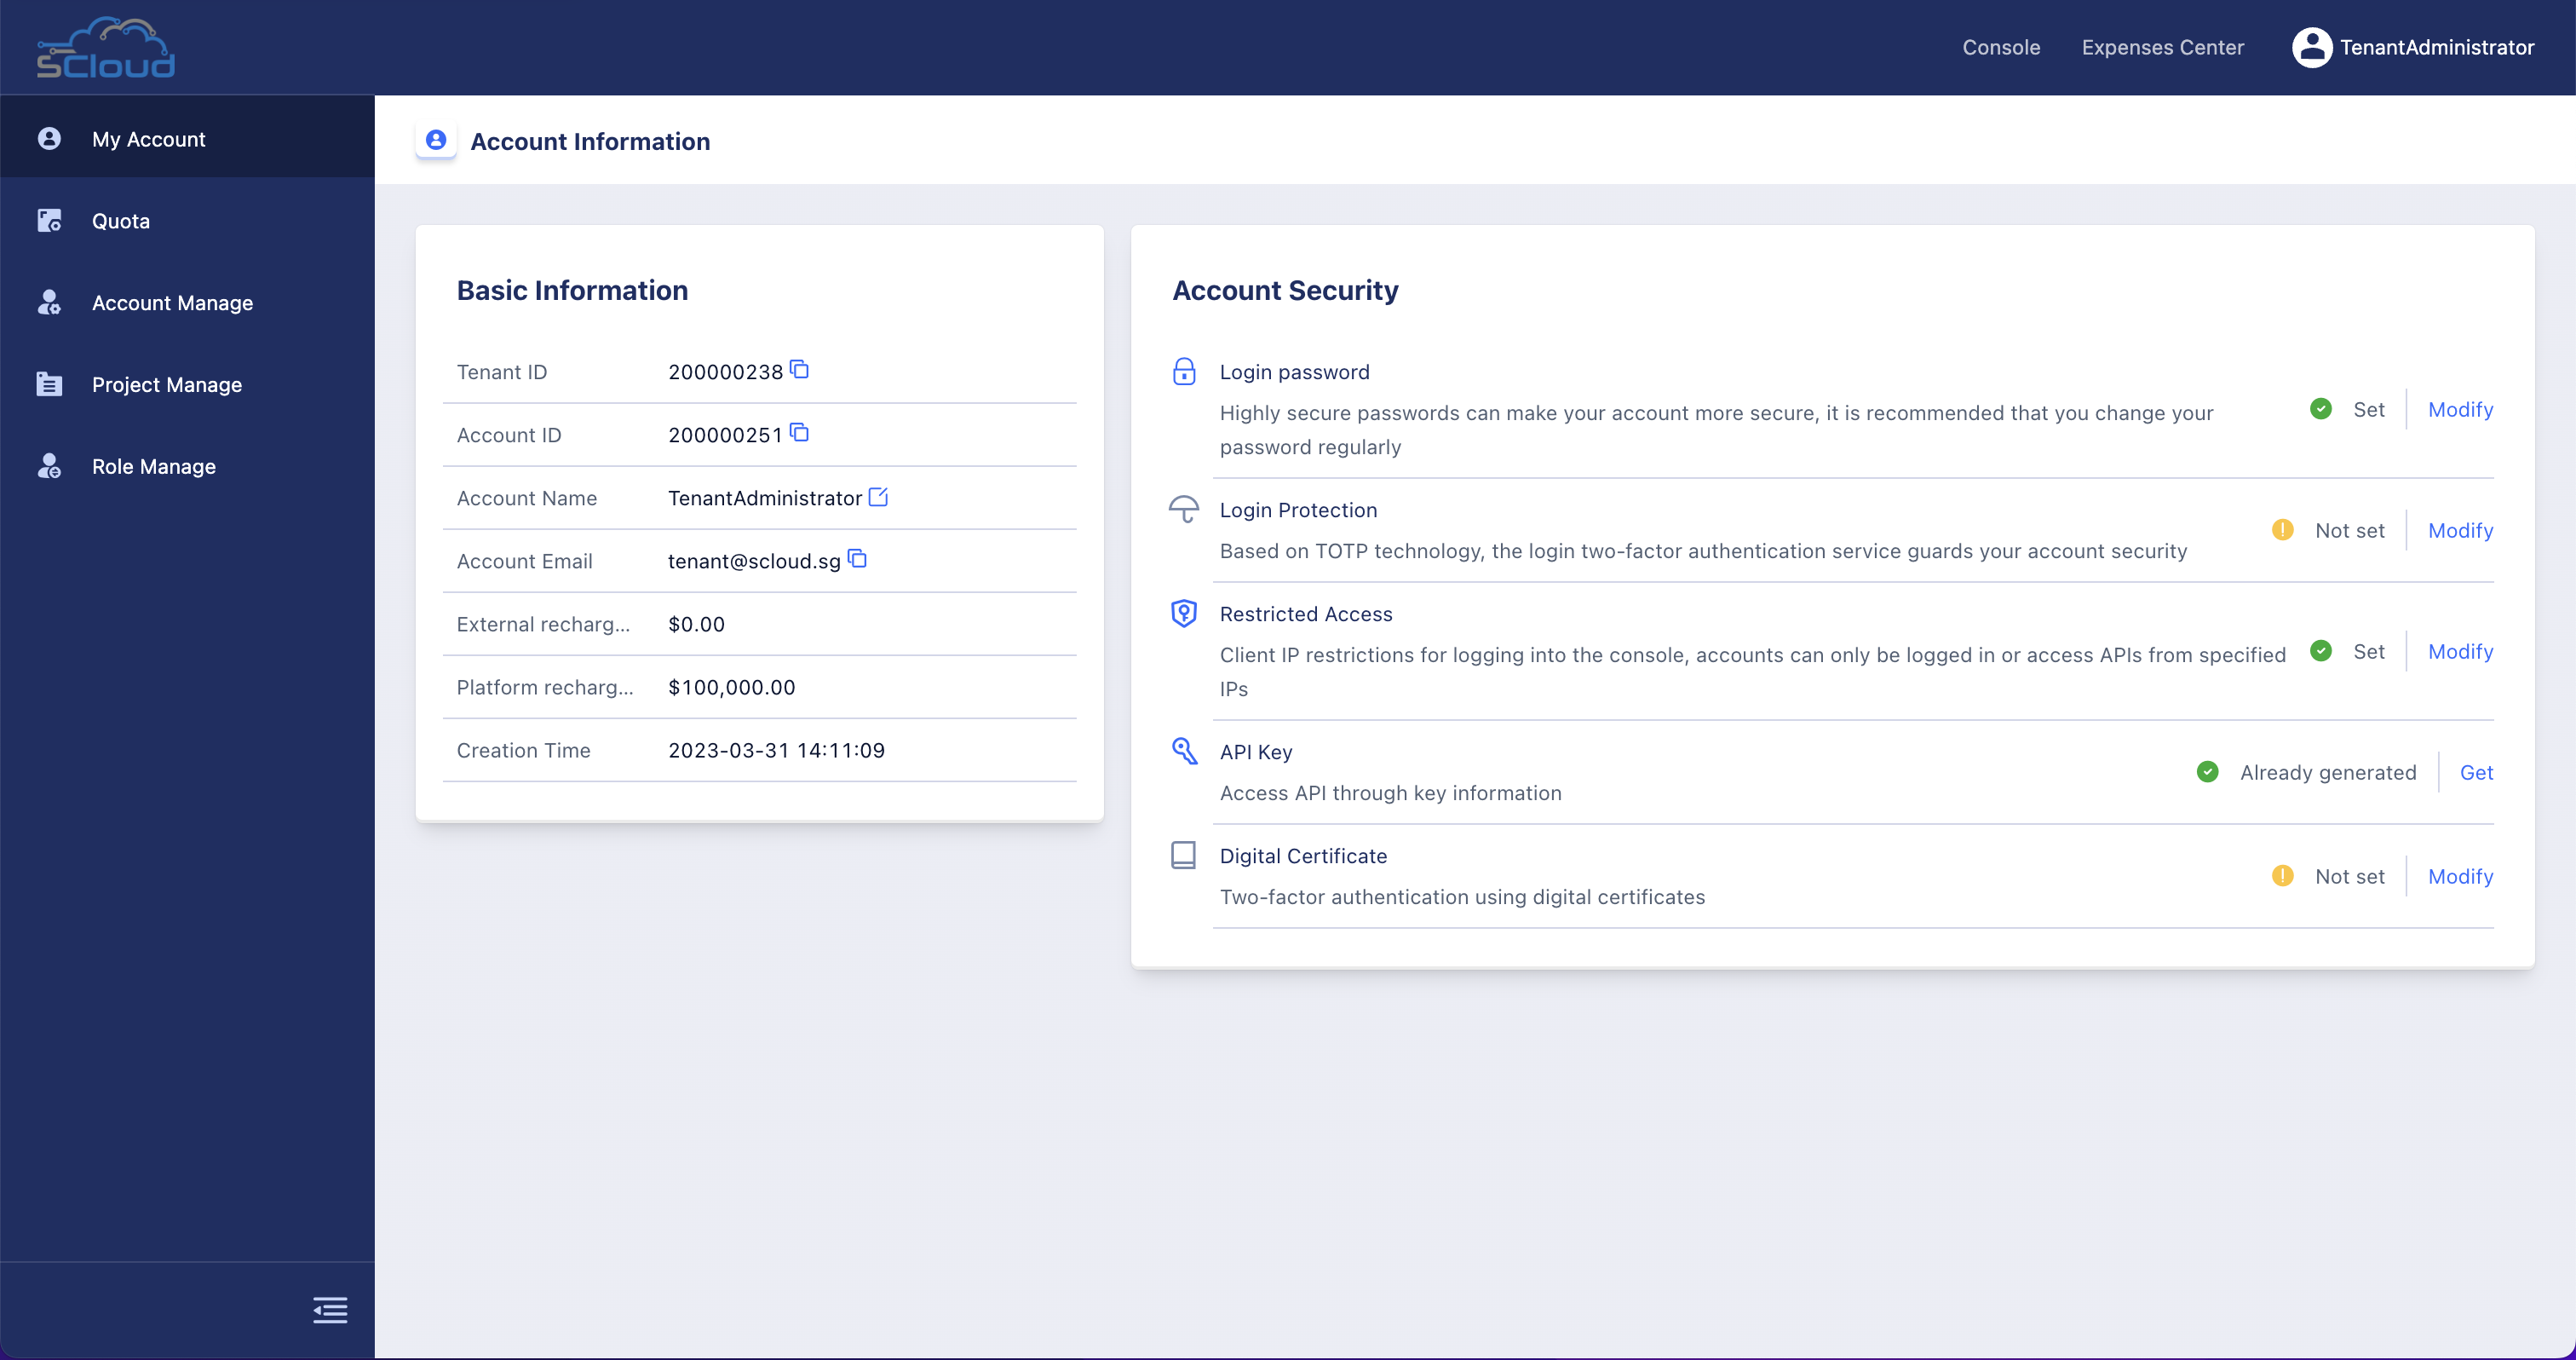
- Account and Group UI:
(3) Click here to open account menu.
- The account menu UI look like below image:
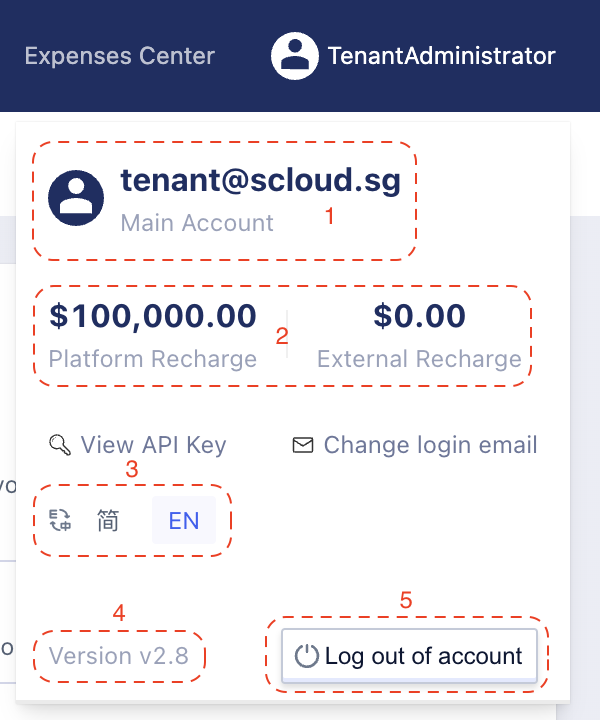
- (1) Your account information (login email & type).
- (2) Your account balance.
- (3) Toggle language between English & Chinese.
- (4) Current version information.
- (5) Log out of your account.
(4) Side bar menu, where you can manage all services within your tenant (Compute, Storage, Network, DevOps, Approve Manage).
(5) Overview information of your tenant (Alarm, statistic, notifications …).
Conclusion
Congrats, you did go through the SCloudStack console as a Tenant Management, let’s move to the next lab to discover more interesting things.