27. Resource Templates
27.1 Overview
Resource templates support tenants to pre-define parameter configurations for creating resources, which can be saved to the template for quick creation in the future, as well as quickly scaling business nodes with horizontal elastic scaling.
27.Create Template
27.2.1 Create a virtual machine template
Cloud platform users can create virtual machine templates with specified models, specifications, images, cloud disks, VPC networks, public IPs, security groups, and virtual machine related basic information in one click, which can be used to create virtual machine instances from the template. The virtual machine template does not occupy actual resources.
-
After selecting the region (data center), select the virtual machine template in the left navigation bar, enter the virtual machine template console, click “Create”, and the virtual machine template creation wizard will pop up.
-
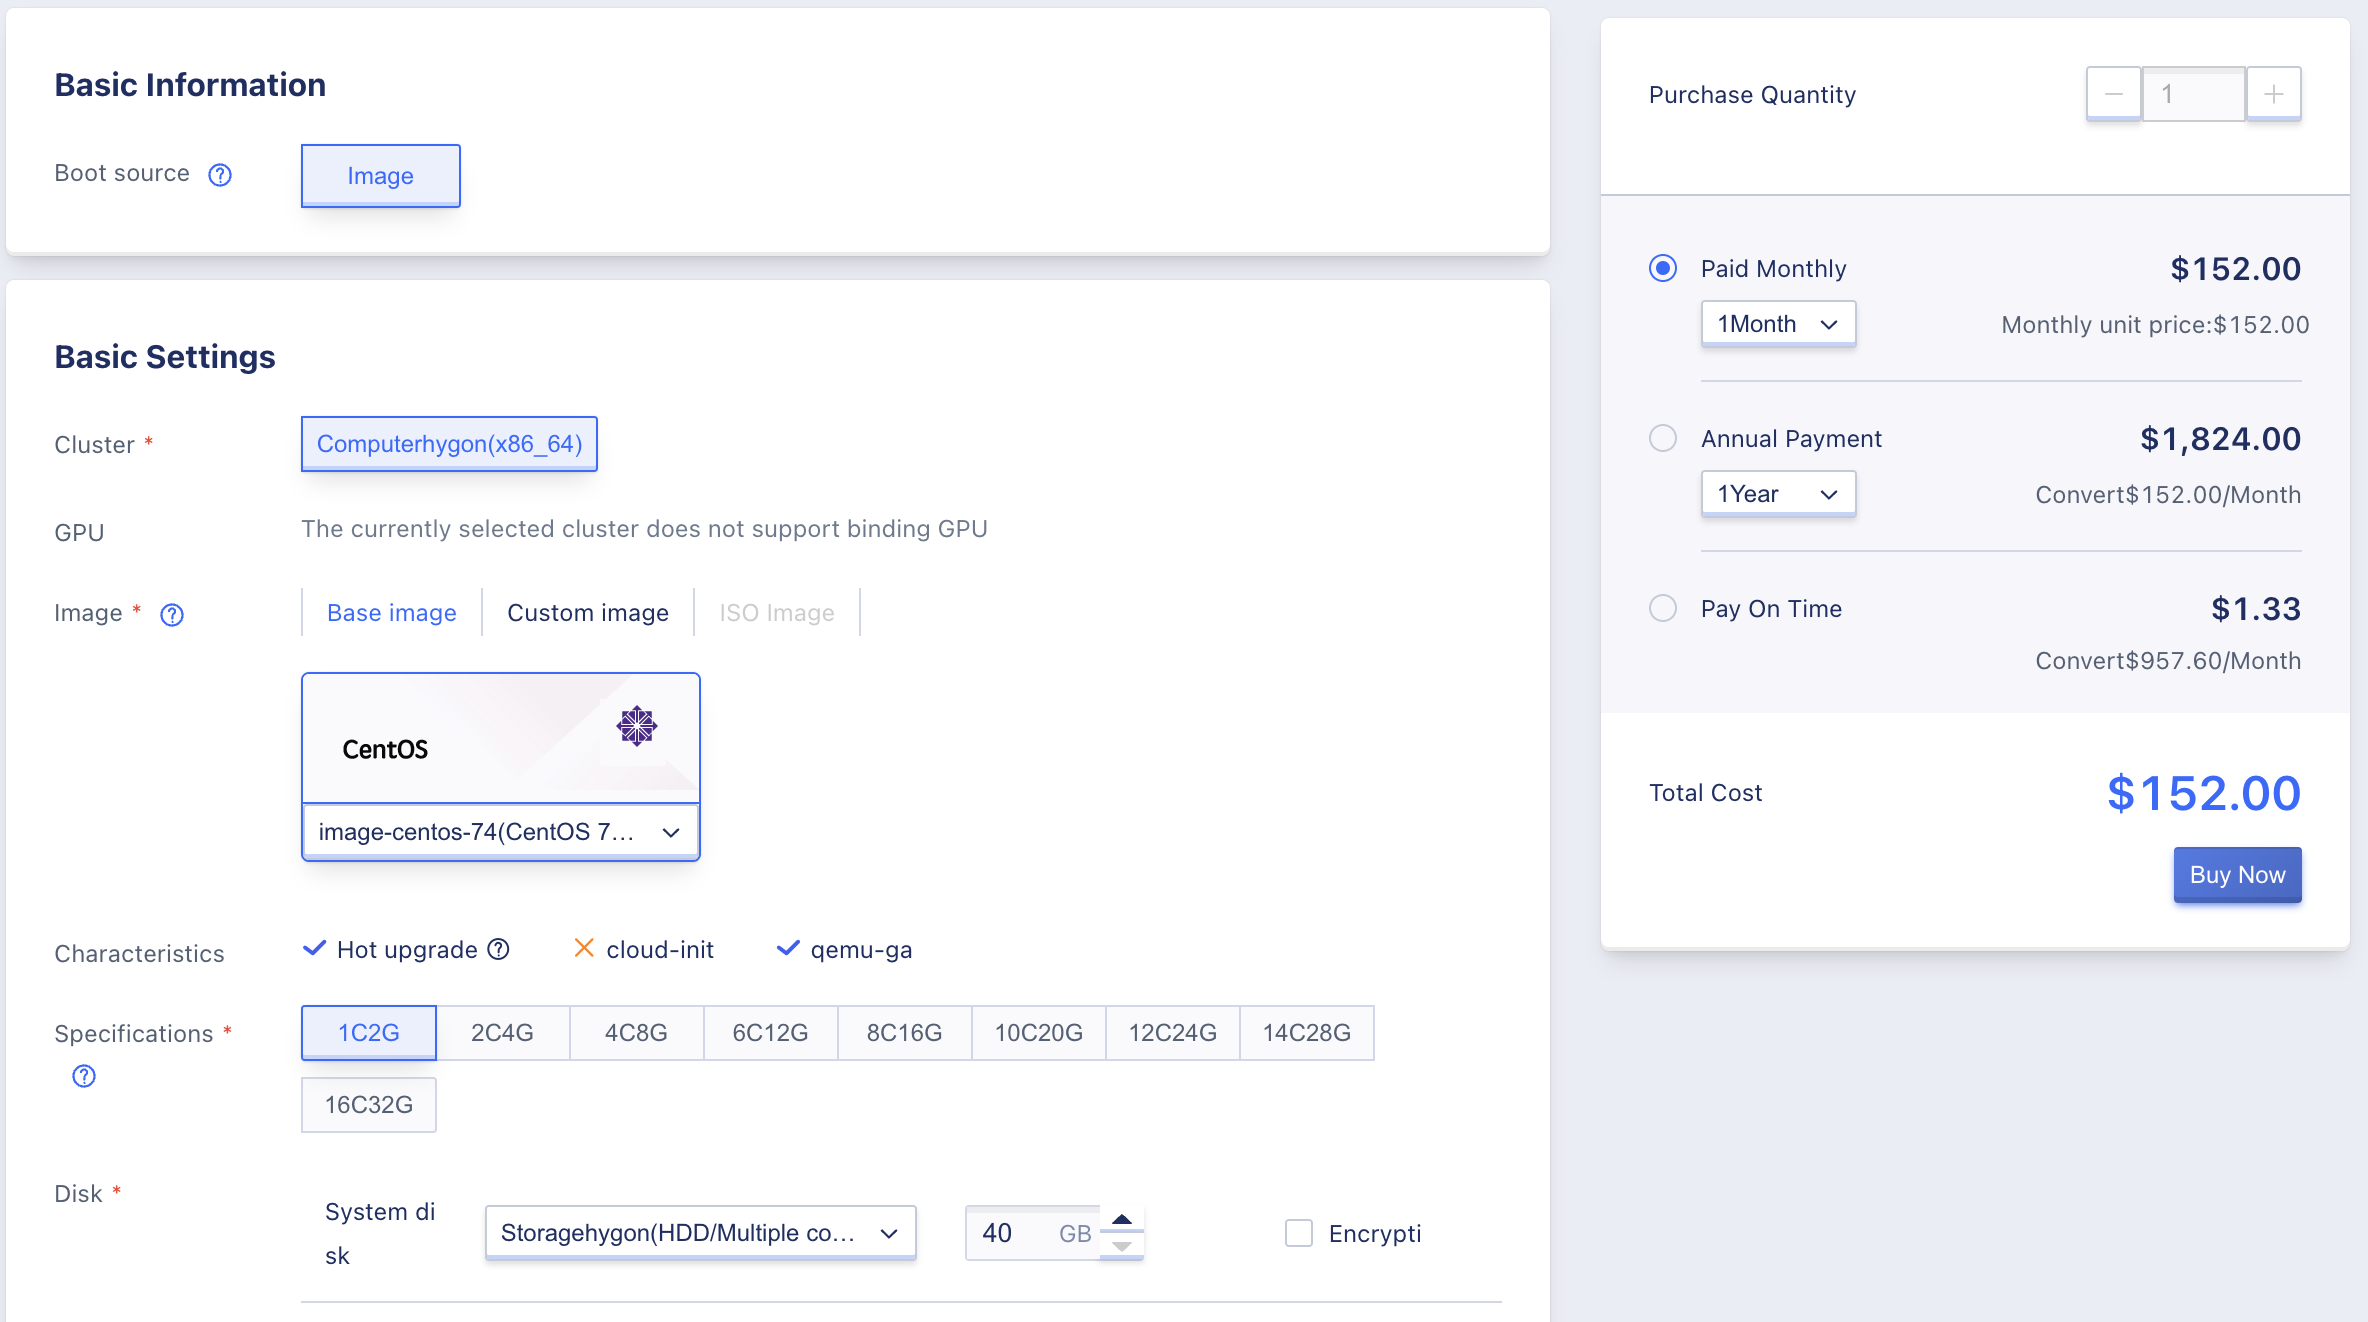
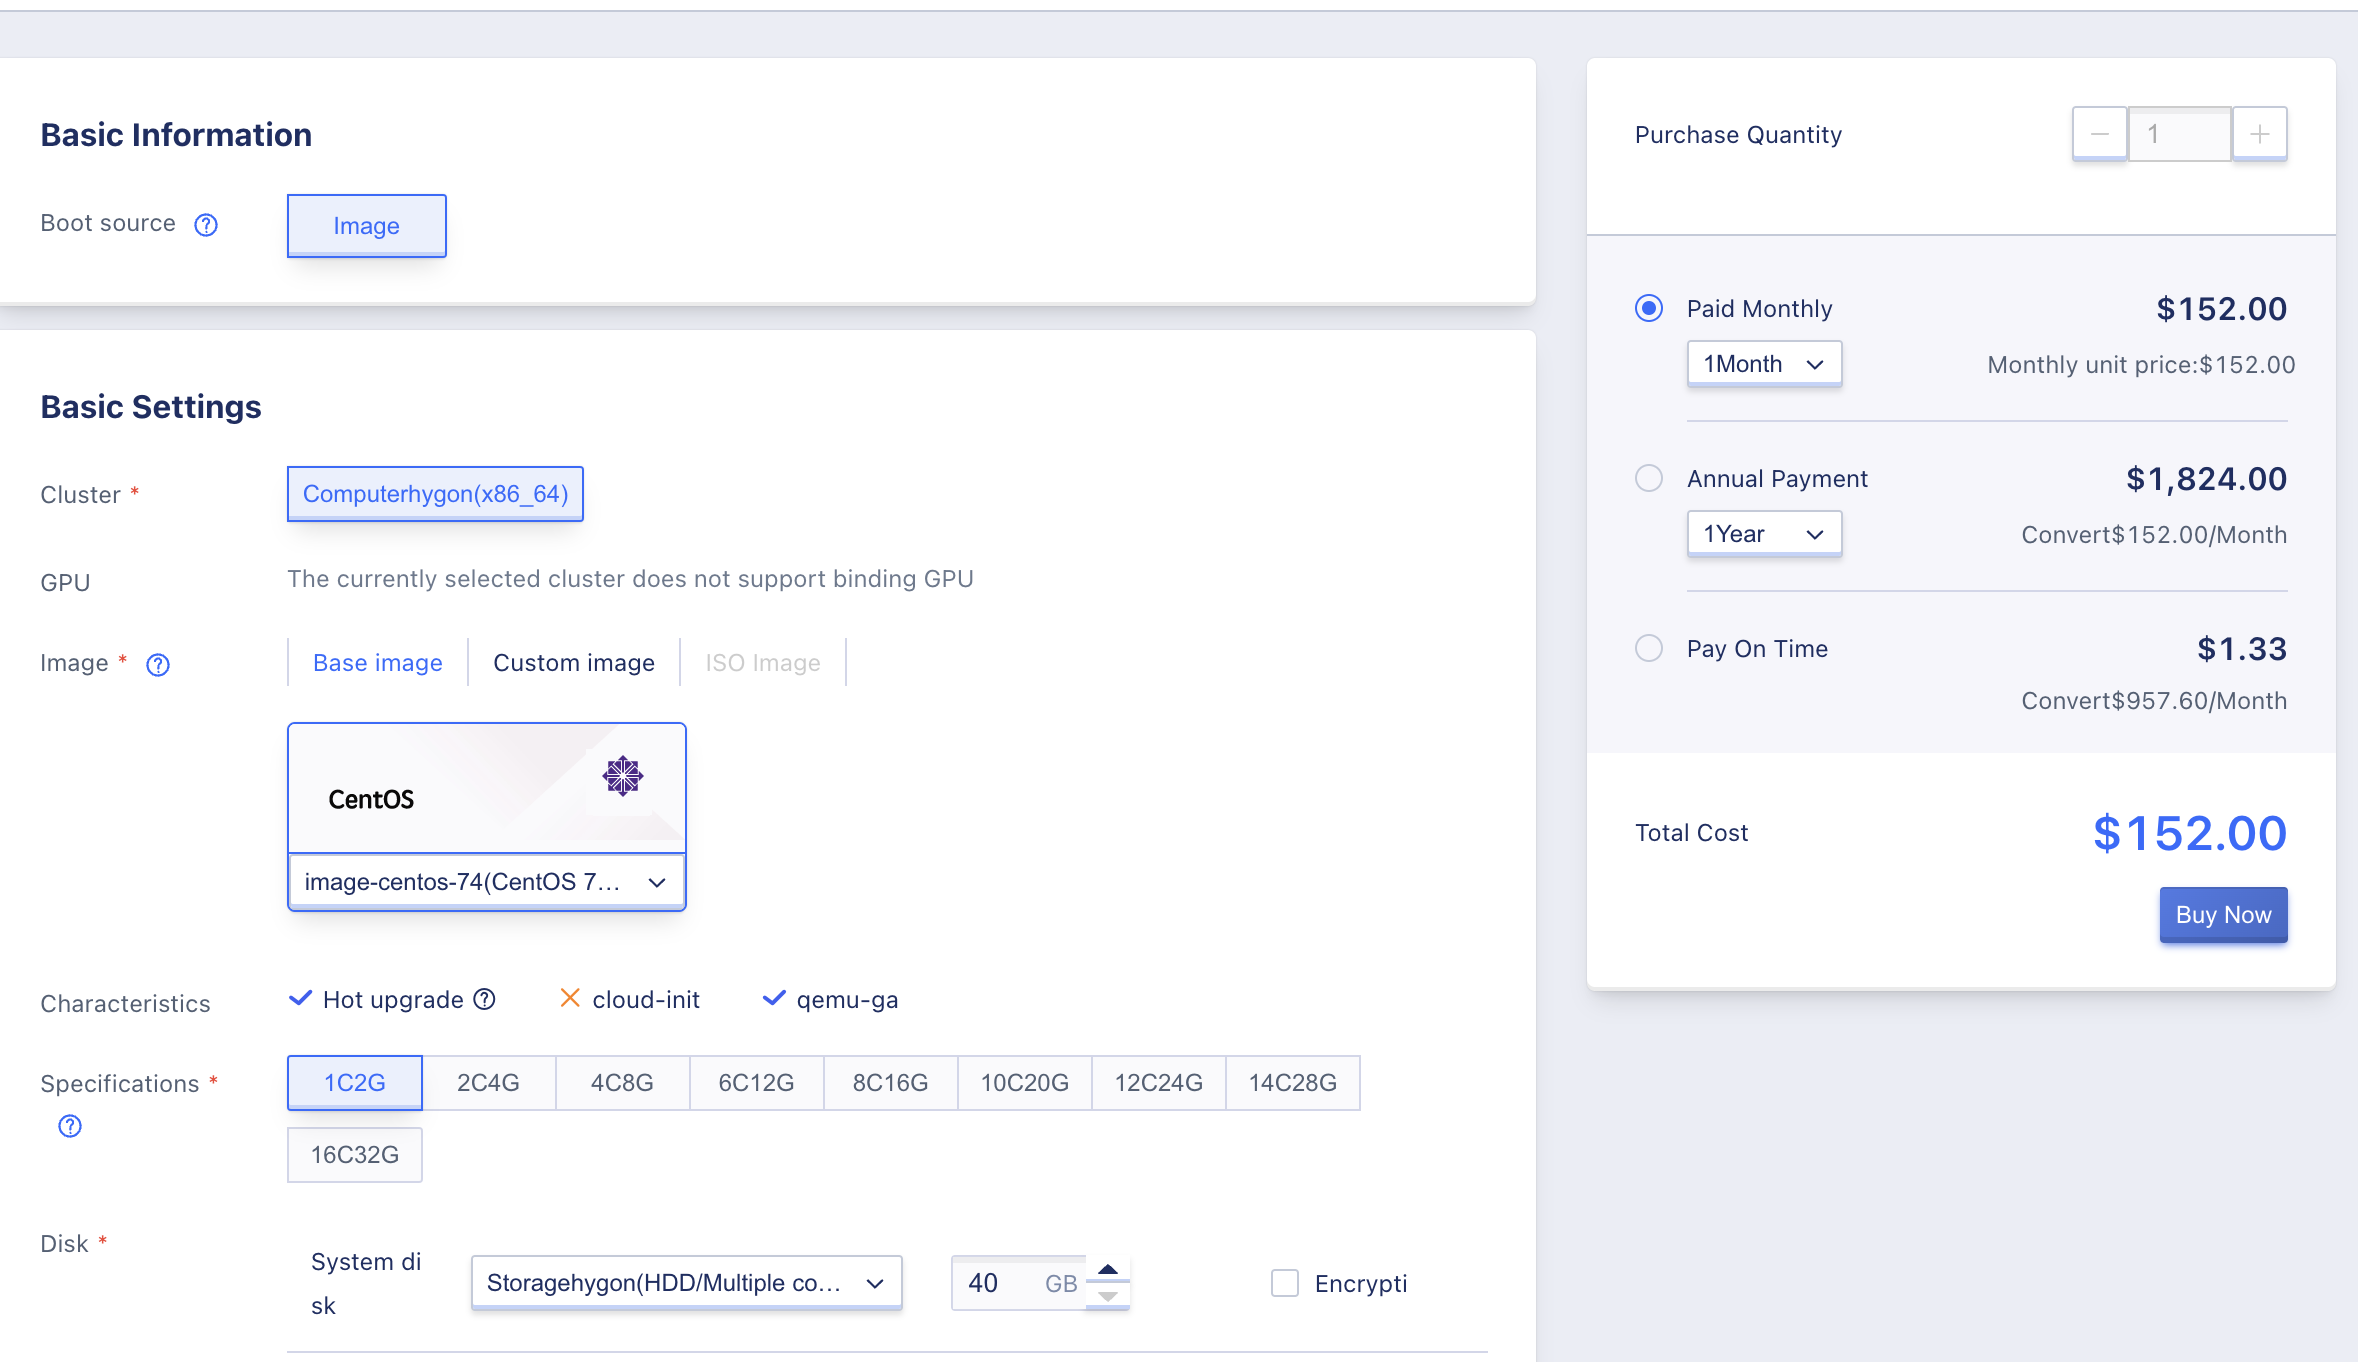
Choose the type of virtual machine template and determine the operating system image of the virtual machine template.
- The machine type is a cluster type of nodes running virtual machines, representing different architectures and different models of CPUs or hardware features that can be customized by administrators, such as x86 machine type, GPU machine type, ARM machine type, etc. Instances created through ARM machine type are ARM version virtual machine instances, which have been adapted to domestic chips, servers and operating systems, and can run domestic operating systems, such as UOS or Yuhan Kirin.
- Mirror is a template of the running environment of a virtual machine instance, and you can choose from basic mirror and self-made mirror.
- The basic image is provided by the platform official by default, including multiple distributions of Centos, Ubuntu and Windows native operating systems, and the default time zone of the basic image is Shanghai.
- Self-made images are user-exported or self-customized images imported through virtual machines, which can be used to create virtual machines and can only be viewed and managed by the account itself.
-
Choose the specifications of the virtual machine template, that is, define the CPU memory and GPU configuration that provides computing power, and the specifications can be customized by the platform administrator.
- The default virtual machine specifications for the CPU model are 1 core 2G, 2 cores 4G, 4 cores 8G, 8 cores 16G, 16 cores 32G, and 64 cores 128G.
- The platform provides GPU device passthrough capability, if the model is a GPU model, it can create and run virtual machines with GPU capability.
- For GPU models, the platform supports up to 4 GPU chips for the highest configuration. To ensure the best performance of the GPU virtual machine, the platform limits the minimum CPU memory specification to be more than 4 times the number of GPU chips. For example, 1 GPU chip requires a minimum of 4 cores and 8G specification, 2 GPU chips require a minimum of 8 cores and 16G specification, and 4 GPU chips require a minimum of 16 cores and 32G specification.
-
Choose and configure the system disk and data disk of the virtual machine template, and configure the capacity of the system disk and cloud disk respectively.
- System disk: The system disk for running virtual machine images, when creating a virtual machine template, you must select the system disk type and system disk capacity.
- Choose the disk type of the system disk, such as SSD disk or HDD disk, the disk type can be customized by the administrator.
- Configure the system disk capacity, the default system disk for Linux and Windows images is 40GB, and the system disk capacity can be expanded to 500GB, with a step of 1GB, that is, the capacity should be a multiple of 1GB.
- Data disk: an elastic block device that provides persistent storage space for virtual machines based on distributed storage systems, creating a virtual machine template configuration with one cloud disk.
- The data disk mount path can be selected, default to
/data(except for Windows systems).
- The data disk mount path can be selected, default to
- Configure network-related settings, including VPC network, subnet, private IP address, private security group, public IP, and public security group options:
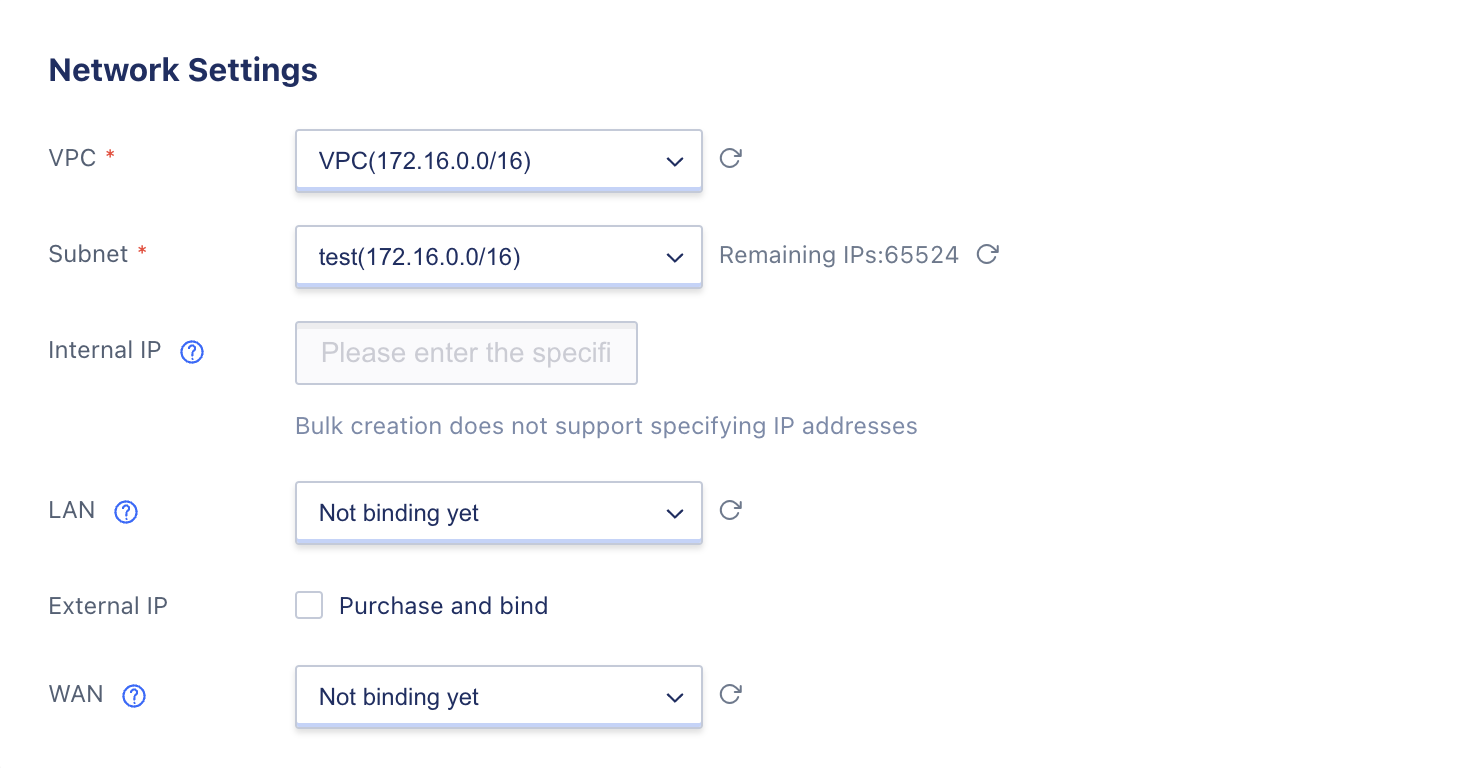
- A VPC network is a logically isolated two-layer network broadcast domain environment belonging to the user. Within a VPC network, the user can construct and manage multiple three-layer networks, i.e. subnets. The VPC private network is the container of the subnet, and the network between different VPCs is absolutely isolated.
- When creating a virtual machine template, you must select a VPC network and its subnet.
- The console has calculated the number of available IPs for the selected subnet for the user, and when creating, enough subnets with the specified number of available IPs must be specified.
- Security groups are virtual firewalls provided by the platform that provide inbound and outbound traffic access control rules, defining which networks or protocols can access resources.
- External security groups are used to control the north-south (external IP) traffic of the virtual machine, and internal security groups are used for secure access control between virtual machines (between network cards).
- External IP provides elastic external network exit services for virtual machines, and the platform supports IPv4/IPv6 dual stack networks. When creating a virtual machine template, select the external IP, and you can bind an external IP address to the virtual machine when creating the virtual machine from the virtual machine template.
- Choose and configure the virtual machine template basic management configuration, including login method, login password (optional random generation) and project group information, etc.
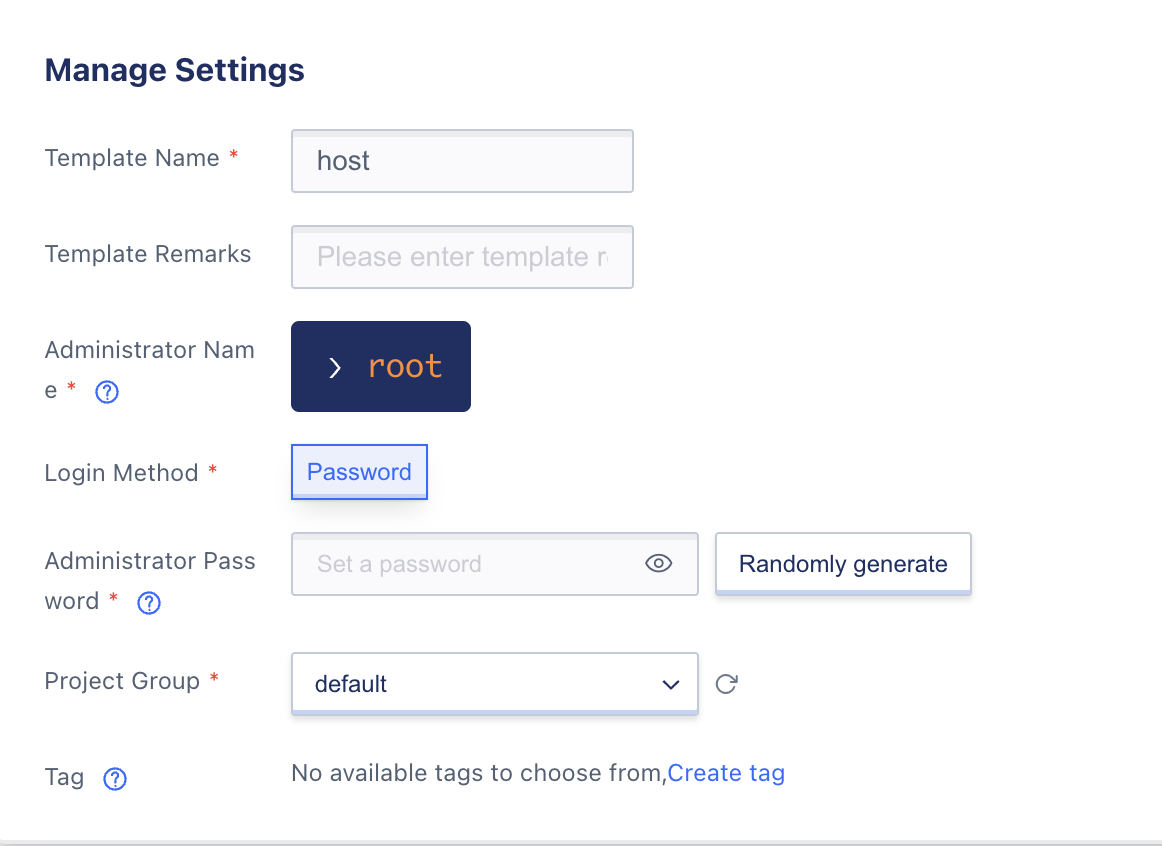
- The administrator name: The administrator of CentOS is
root, the administrator of Ubuntu isubuntu, and the administrator of Windows system isadministrator. - Login method: Set login credentials for the virtual machine template, i.e. the password for logging into the virtual machine, with the option to generate randomly.
When the selected image has neither cloud-init nor qemu-ga features, setting a password is not supported and the administrator name, login method, and administrator password are not displayed.
- Choose the quantity to purchase and the payment method, as shown in the following figure, confirm the order and click “Buy Now” to create the virtual machine.
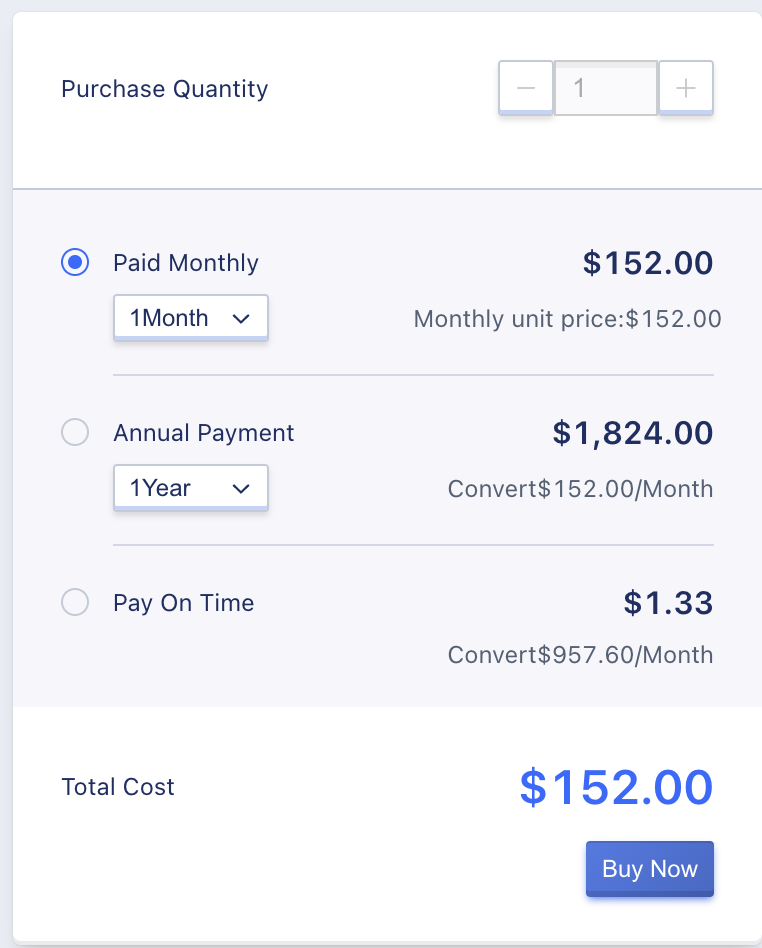
- Purchase quantity: fixed at 1.
- Payment Method: Select the billing method for the virtual machine, which supports three methods: hourly, yearly, and monthly, and select the appropriate payment method according to the requirements.
- Total cost: The cost of the user-selected virtual machine CPU, memory, data disk, public IP and other resources is displayed according to the payment method.
- Buy Now: After clicking Buy Now, a virtual machine template list page will be returned without actual deduction of fees. Fees will be deducted when creating a virtual machine from the virtual machine template.
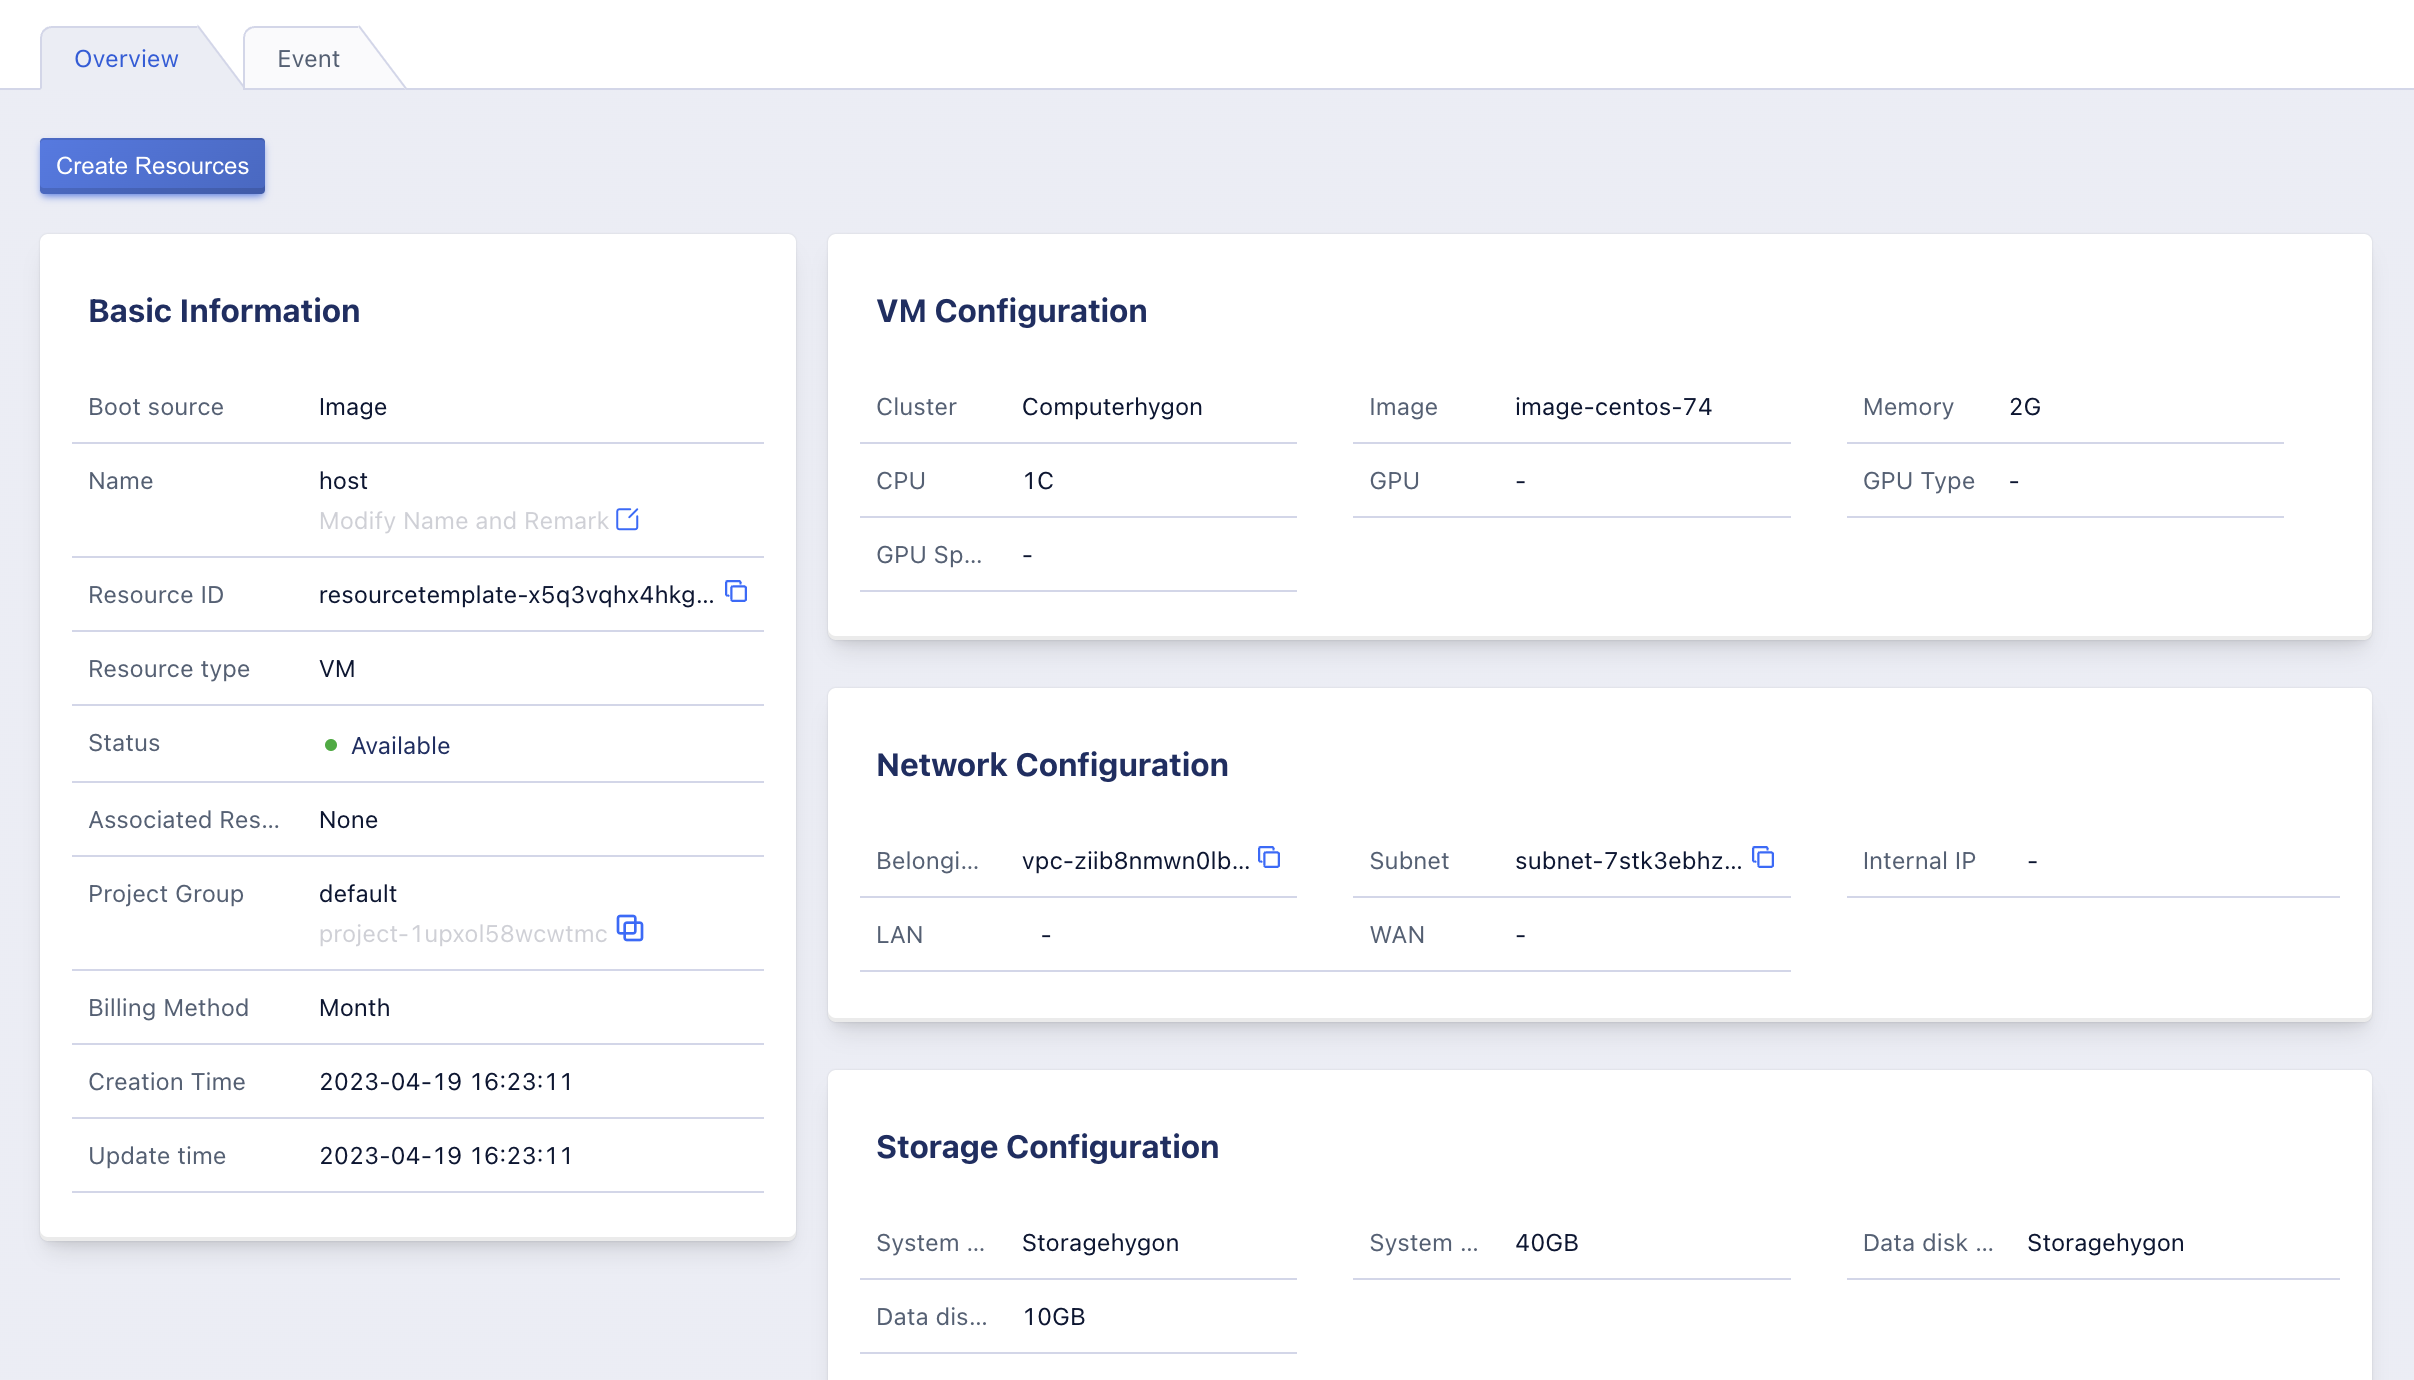
27.2.1.1 View virtual machine template details information
Click on the template name on the resource template list to enter the template details page, the virtual machine template includes basic information, virtual machine configuration, network configuration, storage configuration, and advanced settings.
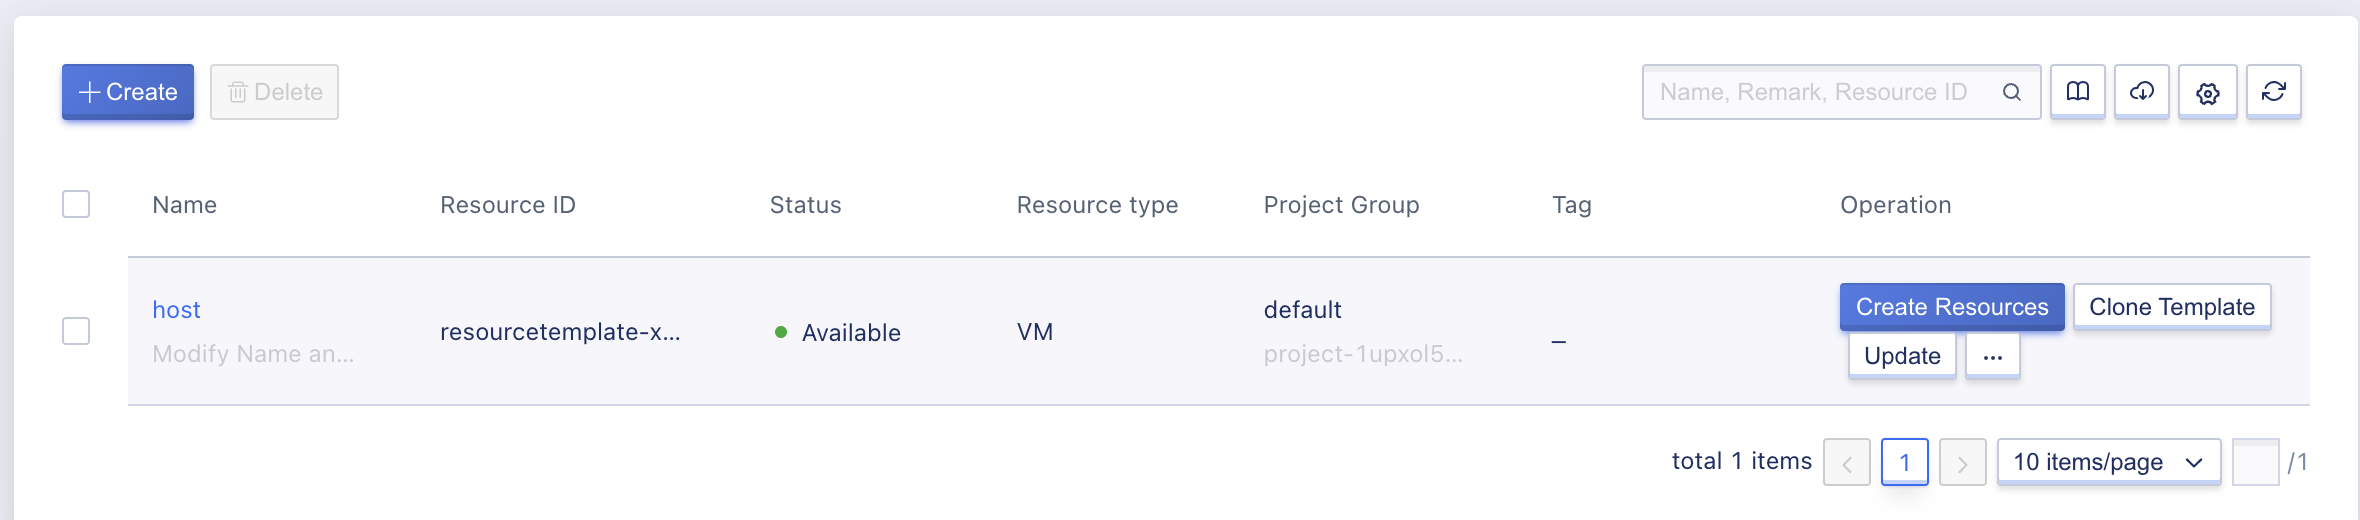
27.2.1.2 Create resources
Click “Create Resource” in the resource template list, set the resource name and administrator password, and you can create a virtual machine with the corresponding configuration.
27.3 View the list of resource templates
The resource template list page can view the existing resource templates under the current account, including name, resource ID, status, resource type, project, tags, operations, etc., and can also customize the list information required through the “Customize List” button.
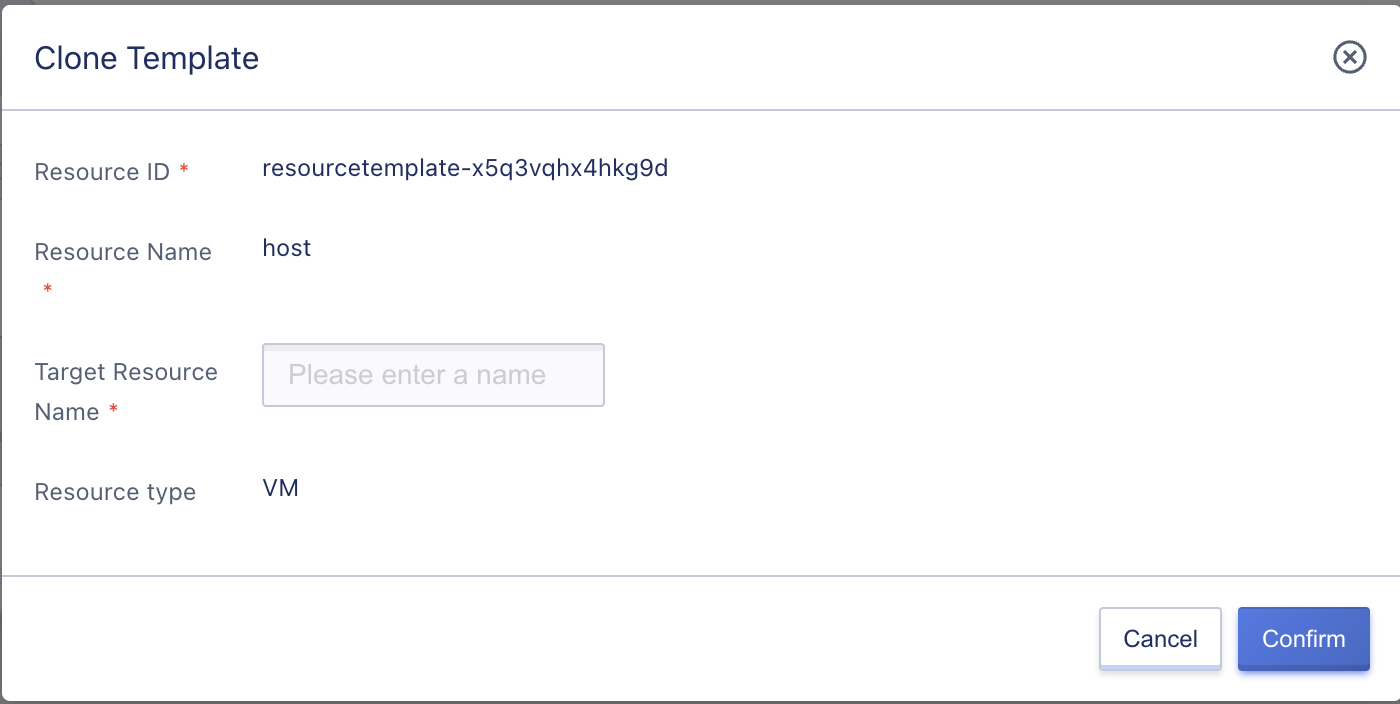
27.4 Clone Template
Click “Clone Template” in the resource templ
27.5 Update Template
Click “Update” on the resource template list, open the update resource template page, update the configuration you want to modify, click “Buy Now” to update the resource template.
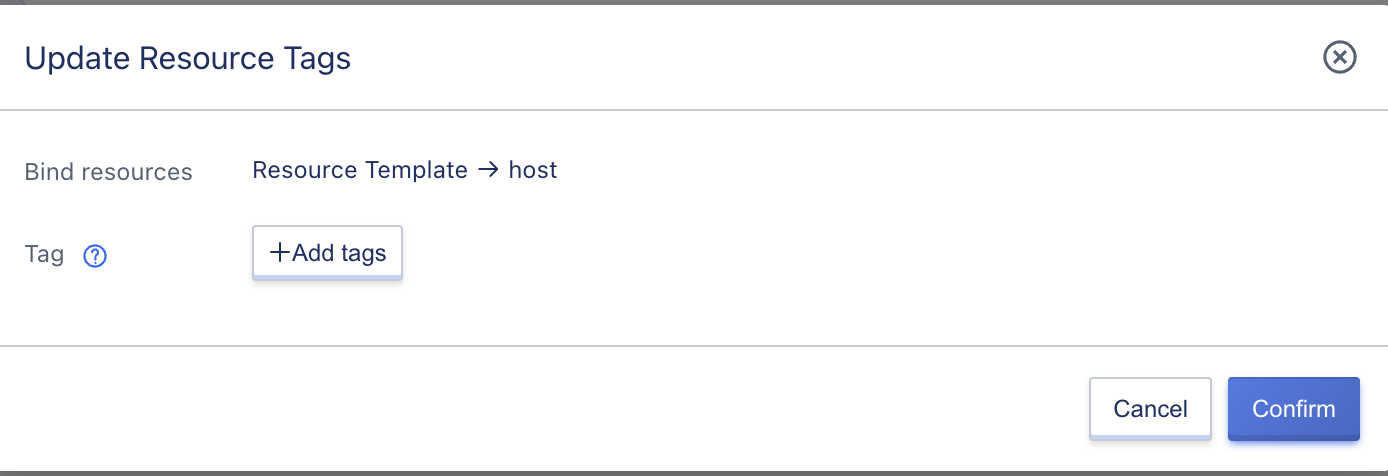
27.6 Modify Label
lick the “Modify Tags” button in the Resource Template list, select the tag you want to modify and click “Confirm” to update the tags of the Resource Template.
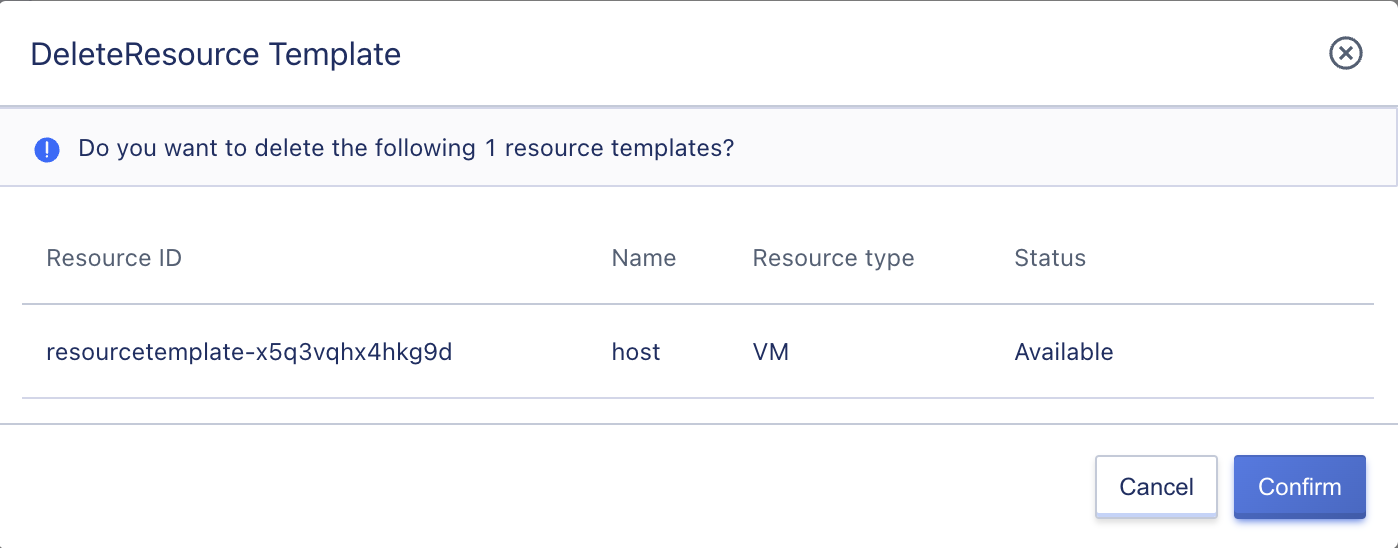
27.7 Delete Resource Template
Click the delete button in the resource template list, and click confirm to delete the resource template. The resource template cannot be deleted when it is associated with resources. Deleting the resource template will not affect the resources created through the resource template.